Yubikey hardware token
Adding the yubikey as a MFA for Umu-id
Note: First install the Yubico Authenticator application before reading these instructions
Open http://aka.ms/mfasetup in a browser
Enter your
umu-id@ad.umu.seas the Sign In username
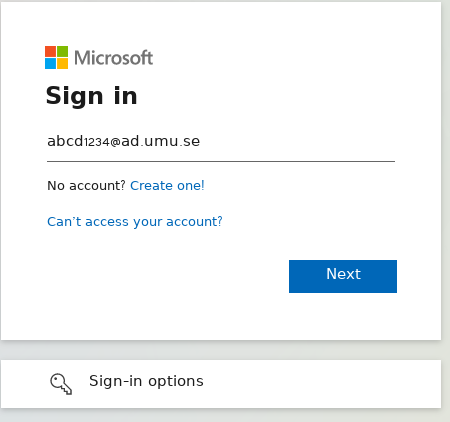
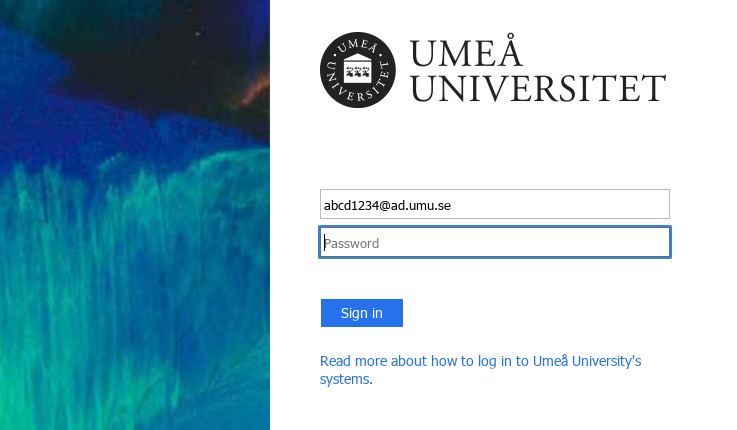
You'll be redirected the regular Umu-id authentication page
Login as normal
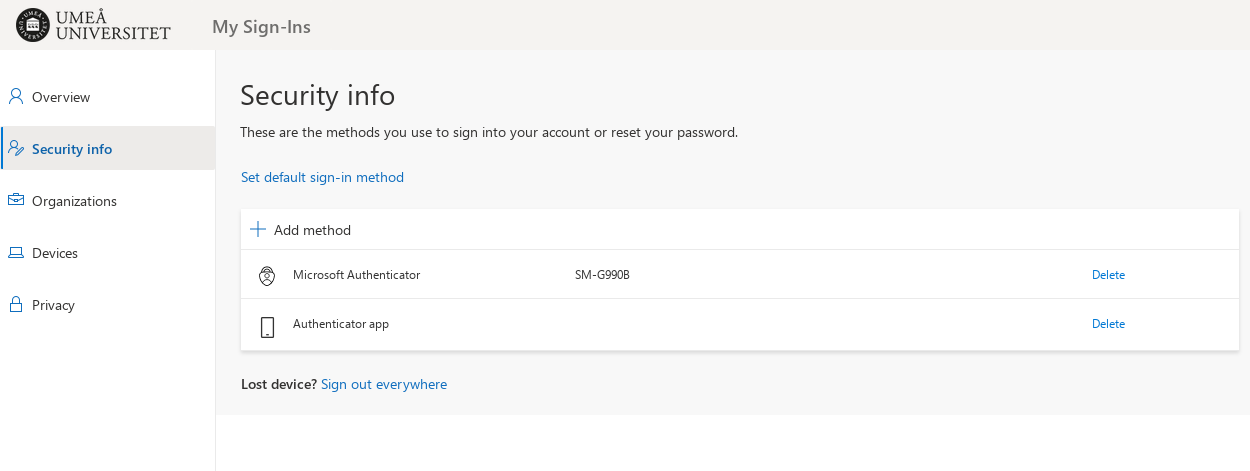
You'll now see a list of your MFA Devices.
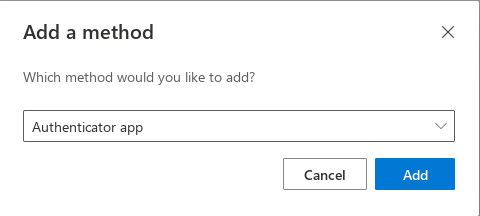
Click
Add method
It asks you to select an authentication method, currently only Authenticator app is supported
Select
Authenticator appand clickNext
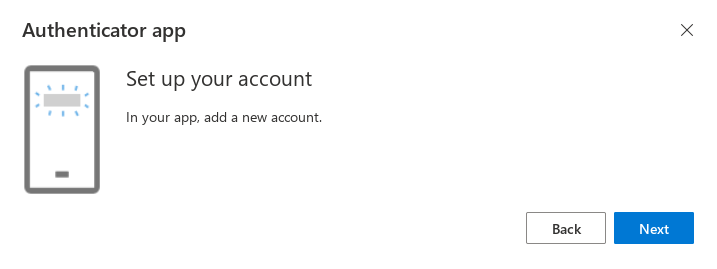
The default is to use the Microsoft Authenticator app on your phone, but we're adding a generic TOTP device
Click
I want to use a different authenticator app

Click
Next
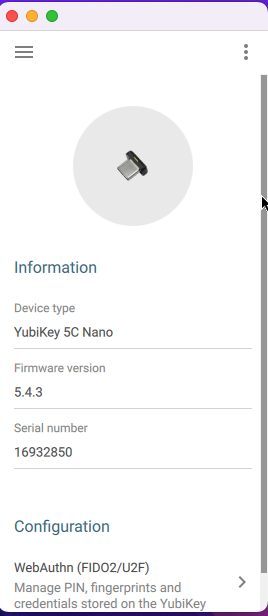
- Start the
Yubico Authenticatorapplication on your computer - Plugin your Yubikey into a USB-port if you've not already done so
- Place the Yubico Authenticator window so that it does not cover the QR-code in the browser
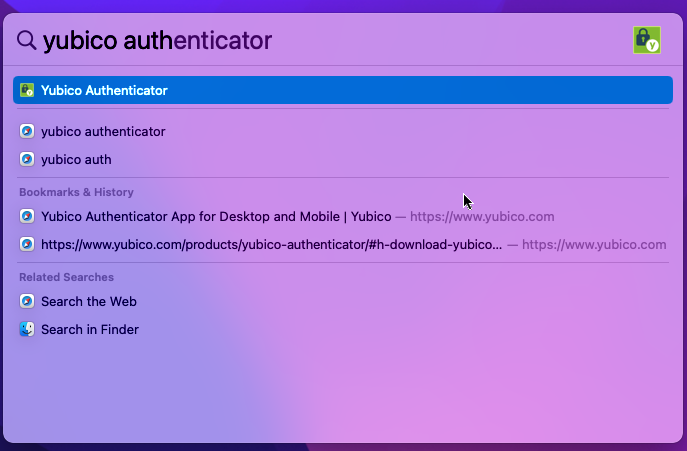
Open the app by searching for
Yubico Authenticatorin Apple Spotlight (⌘+Space)
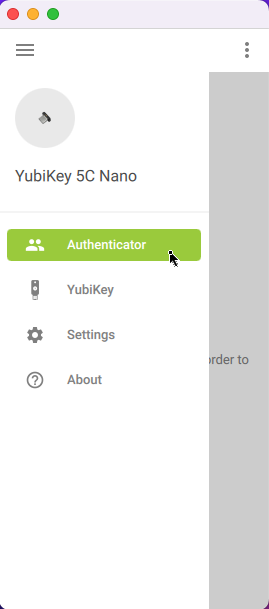
Change view by clicking on the
Menu-button (☰) in the top left corner
In the Menu select
Authenticator
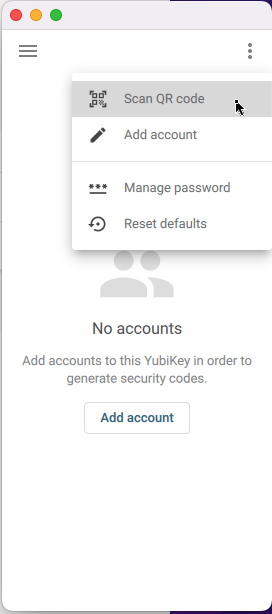
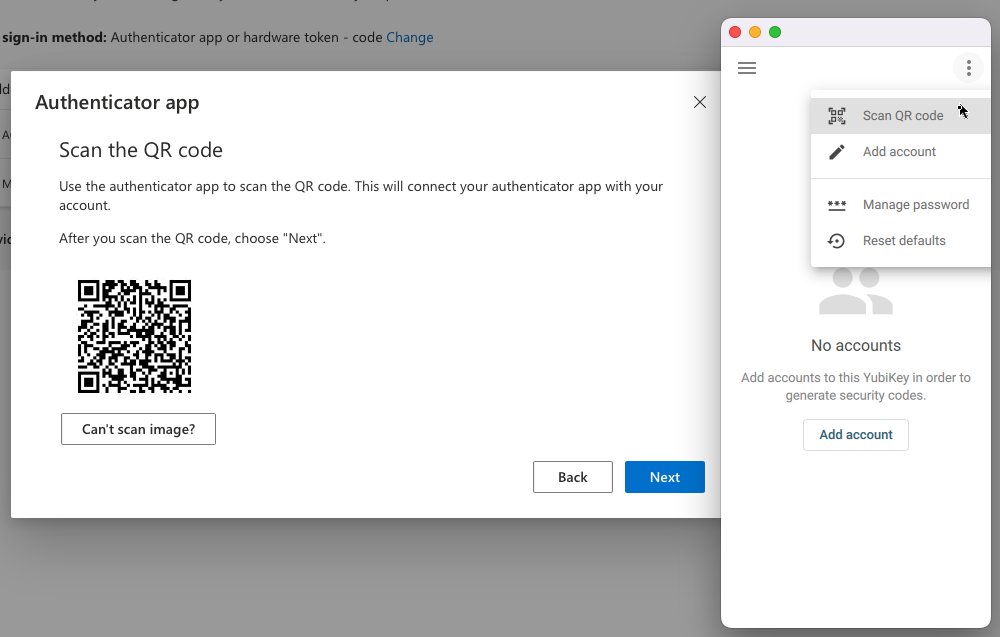
In the top right corner, click the
Options-button (⋮), and selectScan QR-code
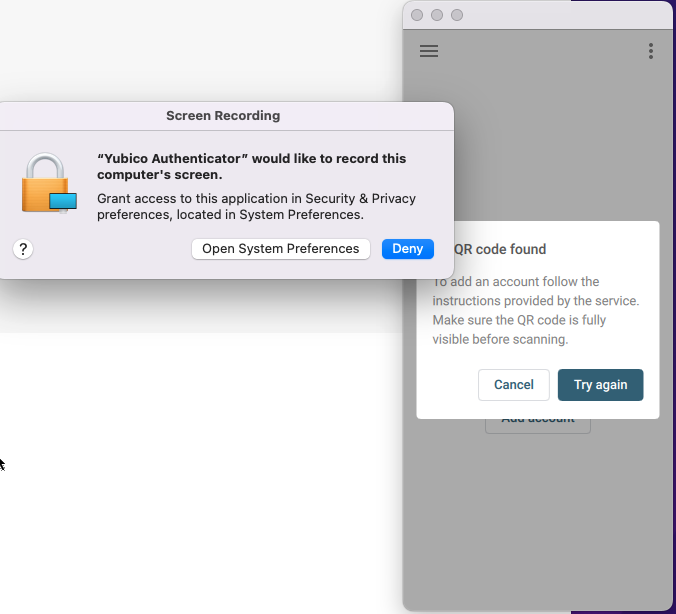
Click
Open System Preferencesor navigate toPreferences->Security & Privacy->Privacy->Screen Recording
Click the lock and enter your password when prompted.
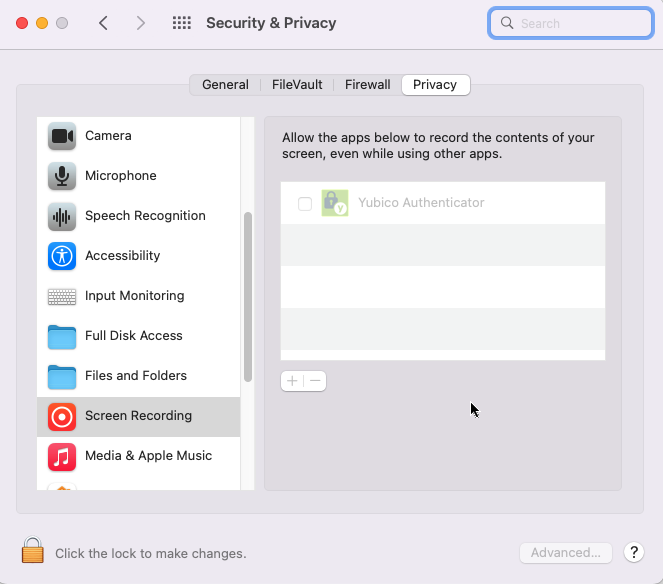
Click the box next to
Yubico Authenticator
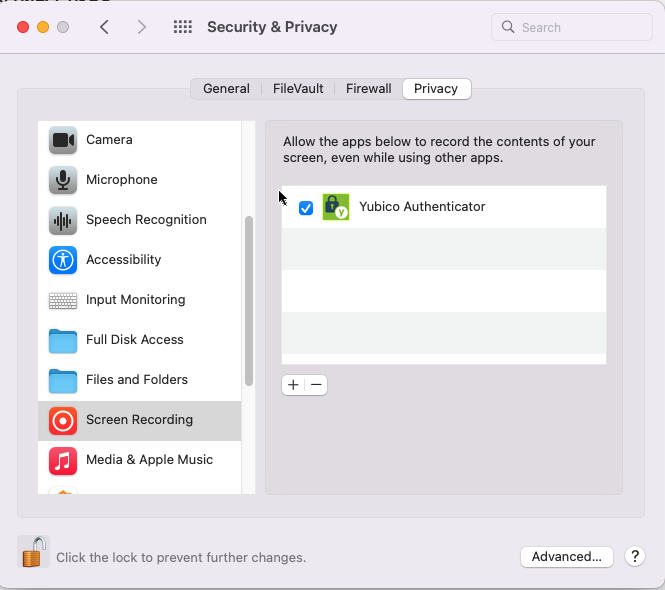
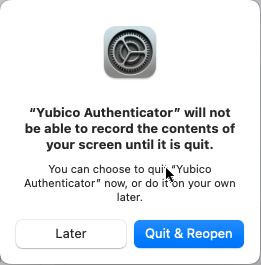
Press
Quit & Reopento re-launch Yubico Authenticator with the new system permissions
Navigate back to the Scan QR code mode in the app
Click
Scan QR codein the menu, with the QR-code in the browser visible on the scren
⚠️ QR-scanning troubleshooting ⚠️
If you covered the QR-code the Yubico Authenticator will prompt you reposition the window so that the QR-code is not covered, and click
Try againto make it re-scan the screen for a QR-code
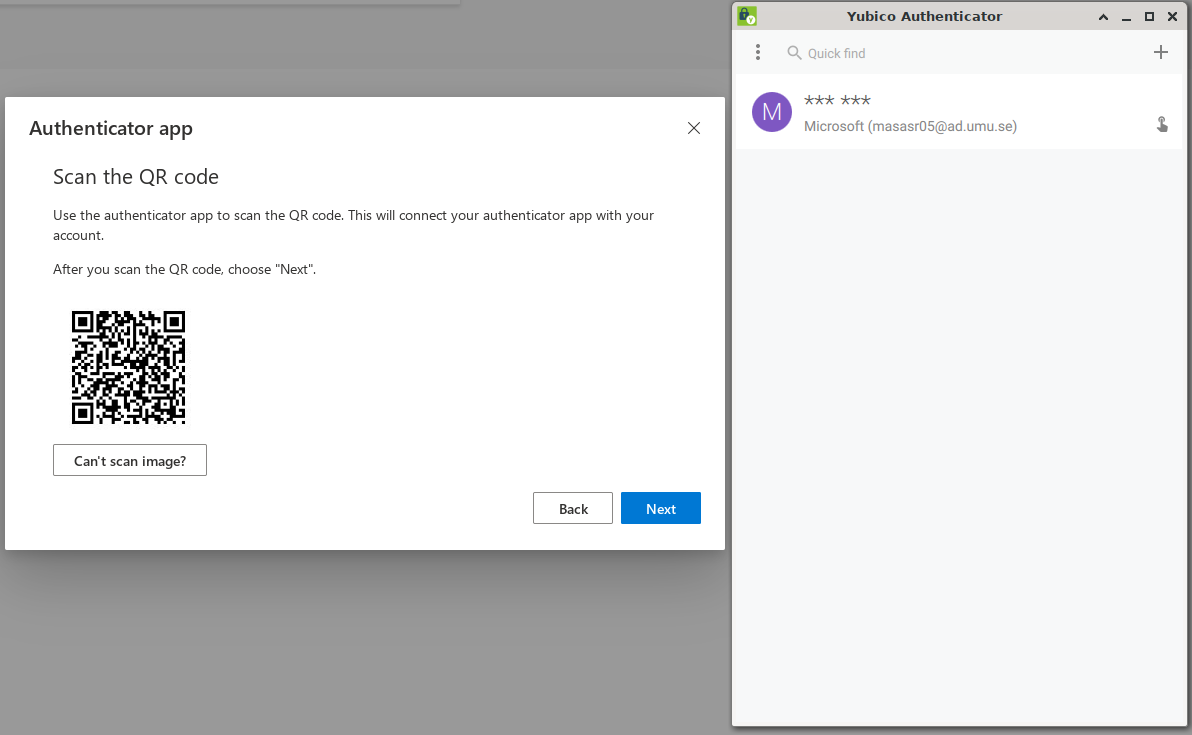
The Yubico Authenticator will scan the QR-code and present Issuer and Account Name, which should be Microsoft and your Umu-id@ad.umu.se respectively.
Important: Ensure that
Require touchis selected.
ClickAdd accountin the app
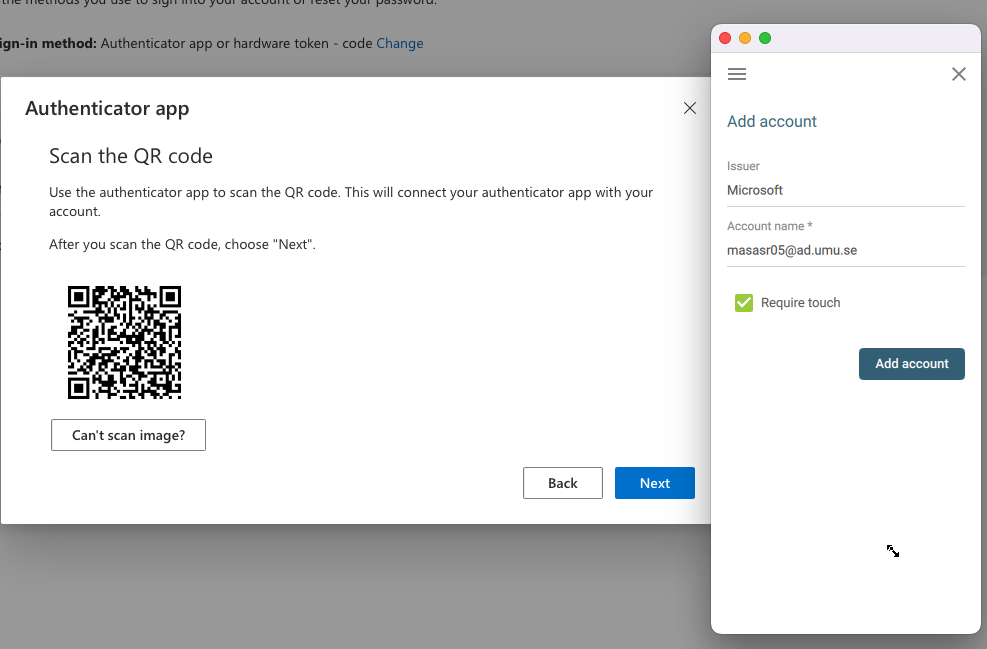
Click
Nexton the browser page
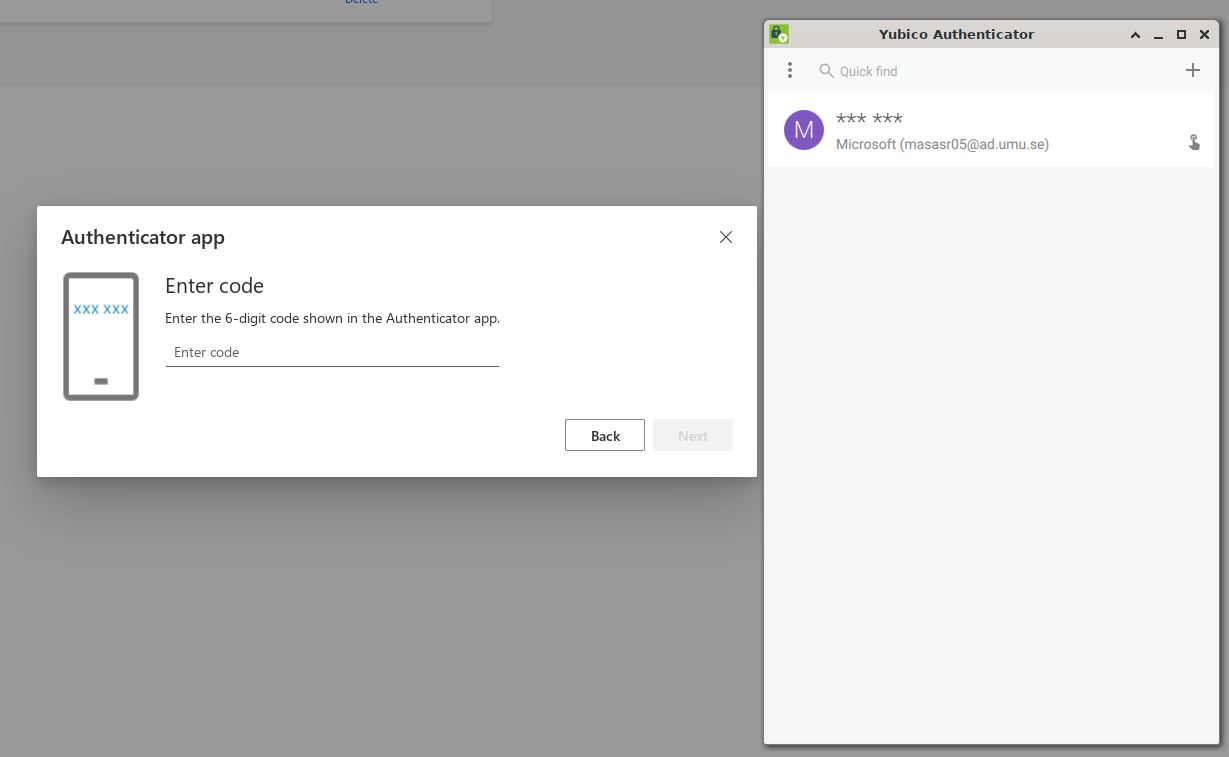
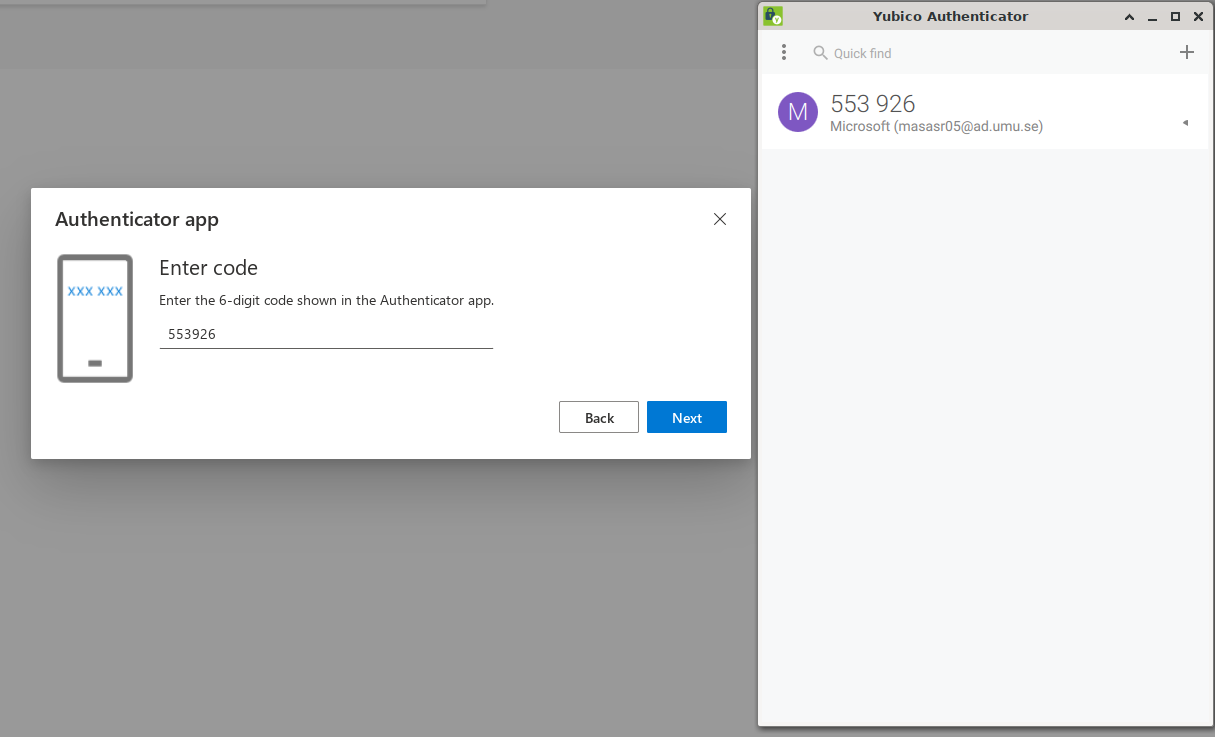
To verify that you've added the MFA device successfully it now prompts you to enter the OTP code.
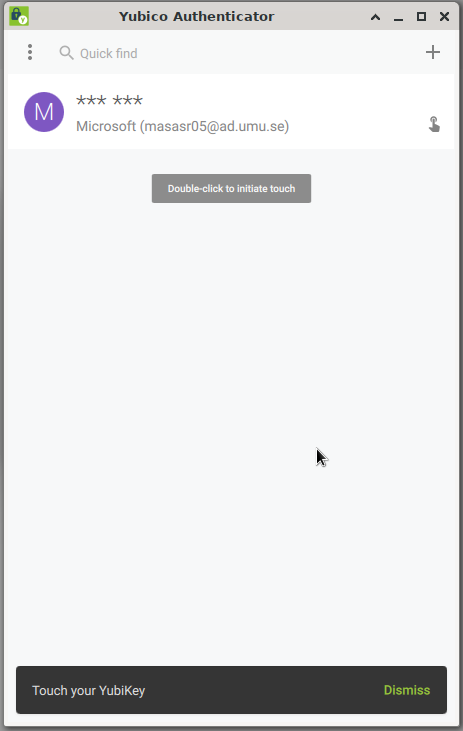
Double-click on the
@ad.umu.seaccount in the app
It prompts you to touch the metal part of the Yubikey device to verify that you want to generate an OTP code.
Physically touch the metal part of the yubikey device to verify that you want to display the OTP code
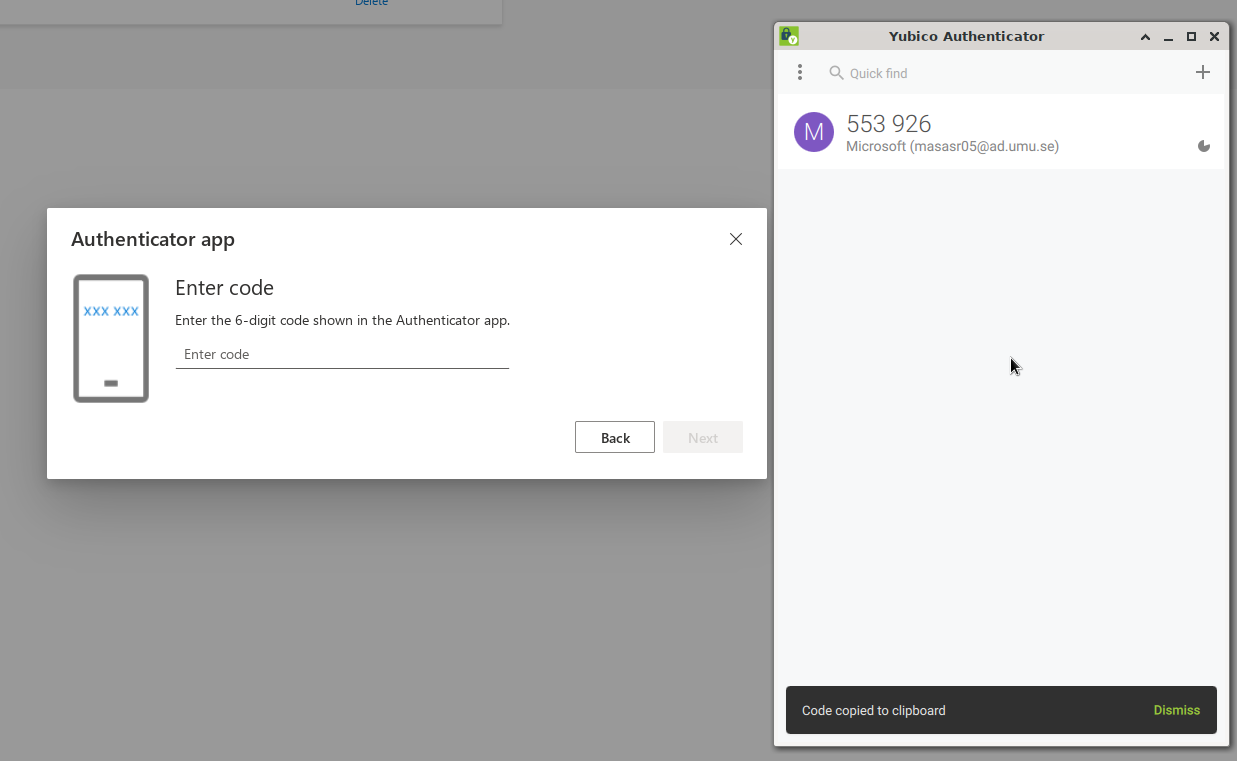
The OTP code will be displayed in the app, and automatically copied to your clipboard
Paste or type the OTP code in the
Enter codefield
Click
Next
Note: A OTP-code is typically valid for about 30 seconds. So if you wait to long between creating the OTP-code and using it, it may have expired. If so, double click in the app again and touch the yubikey to generate a new fresh OTP-code
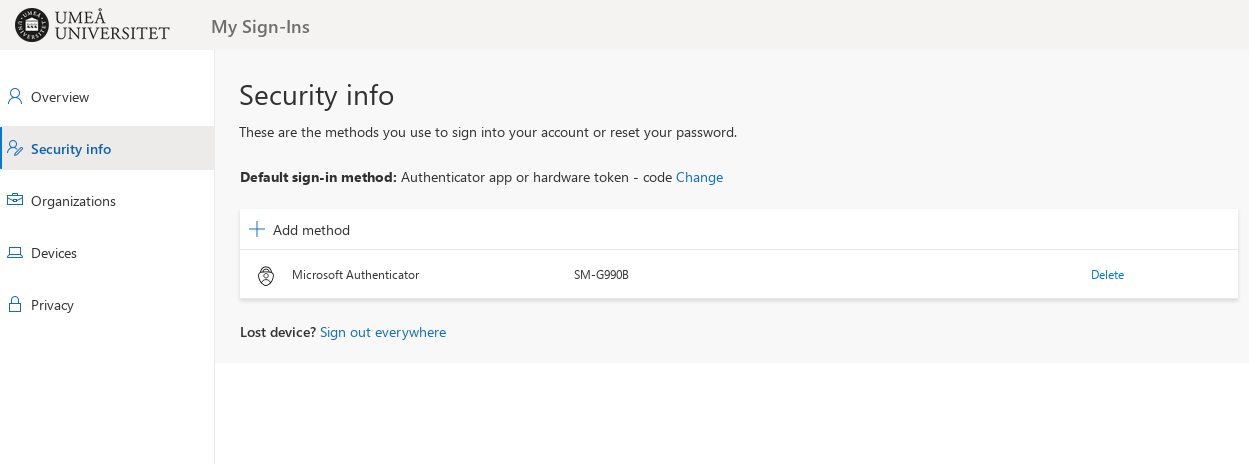
Success. Your yubikey is now listed among your MFA devices (The generic
Authenticator appin the image).